Making the dresser
The big addition to the Moroccan Room before the baby was this dresser/changing table, which I suppose I didn't exactly make, but I did hack and embellish to a point of unrecognizability.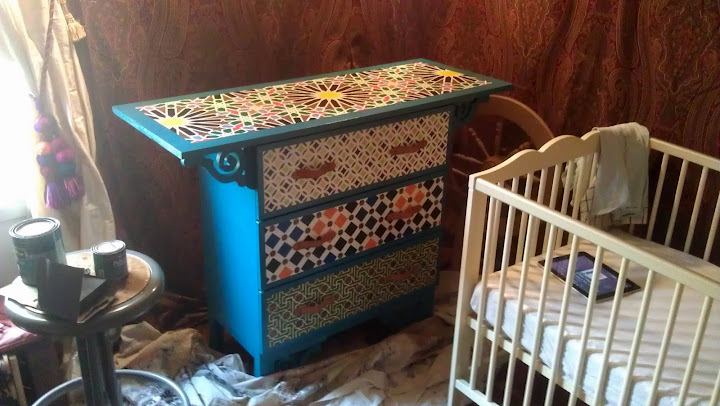 We bought the Tarva at Ikea for the base, and two nice wood planks to make a larger top plus four brackets from Home Depot to build this thing.
 At home, we laid everything out for painting, filled the original holes for the drawer knobs, and taped off the areas where I wanted a border - basically the edges of the drawers and the two planks for the top. I wanted to be able to create a wood inlay look, which meant that those areas couldn't be painted, of course.
 We primed, then did a few coats of the teal color we originally bought for a chair in our living room, sanding after each coat. Finally I re-taped to cover the painted borders on the drawers/top, and stained the rest. Then we put the Tarva together, screwed the larger top on (from the inside, so the screws wouldn't show on the top), and added the brackets where needed. The drawers stayed disassembled since I knew it would be easiest to paint the fronts while sitting in the living room watching TV.I started detail work on the drawers first. Each one had to be fully taped off, then have the design drawn on the tape and cut out with an Exacto knife. THIS WAS A HUGE JOB. Huge.
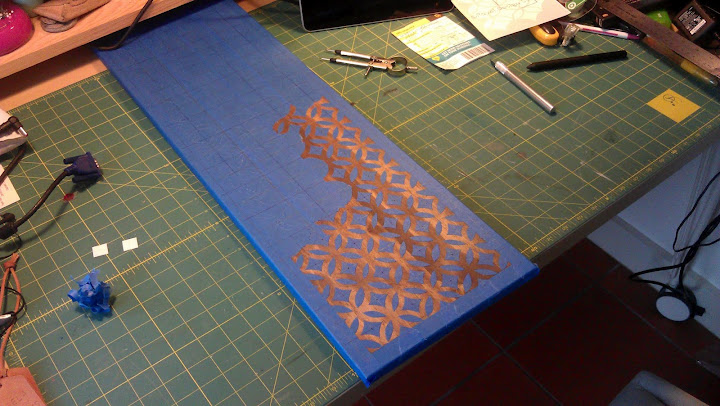 With only the areas that should end up white un-masked, I rolled a few coats of white paint over the top with a mini-roller.
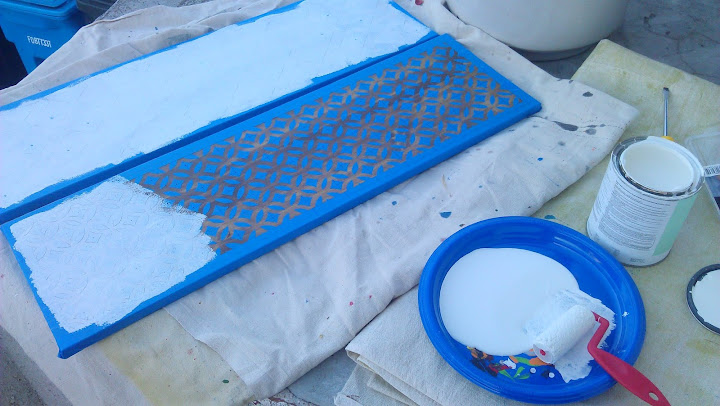 After that, I went back and painted in the colorful areas by any useful combo of tape-peeling, re-taping, and freehanding it with acrylic paints. Then touchups, which are their own whole thing work-wise. Pulling the pieces of tape off caused pieces of the white paint to peel off too, so I had to touch all of that up as well. Finally, I applied a few coats of clear sealant to finish it off. I learned the hard way that some paints started to bleed a little if I re-brushed over wet sealant; but that was easy to fix by just putting one coat down in one set of brushstrokes and letting it dry completely before the second coat. Then I put a couple of the drawers together to see how they looked in there - it was starting to come together!
 Next, I got started on the top - taping, drawing, then cutting. I copied the design up top from a wall at the Alhambra, where we went for the holidays two years ago. The funny thing, though, is that I was actually copying from some random photo I found online and liked, all the while thinking “this design looks so familiar”. After a couple of weeks I moved some stuff around and re-found a print of a photo I’d taken of the same design! (It’s the second one here.) At any rate, I made some stencils from clear plastic that I could use as tools - a large square with angled lines traced on precise rotations, a small eight-pointed star, and two sets of perpendicular lines I could use throughout. I drew things on in pencil first, then went back with a red Sharpie to mark the places I'd need to cut. Finally, I had to cut left/right of each of the red lines to make space for the white paint - and peel all of that off. It seemed quite neverending, but really, hanging out in the room working on this was a lot of fun, and was a great chance to just get myself all psyched up for the baby's arrival!
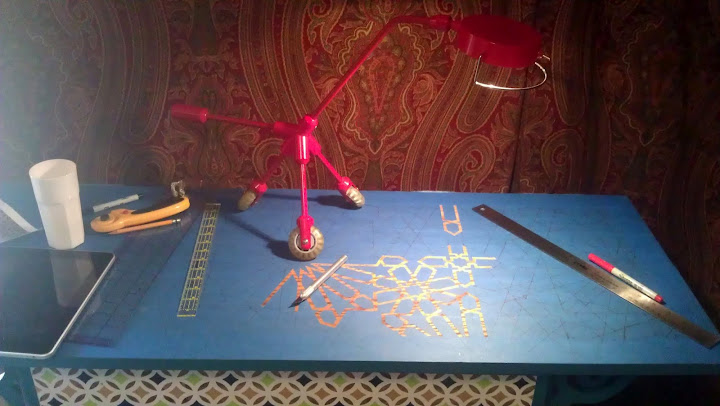 After rolling on the white, I started peeling off additional pieces of tape and painting the "tiles" in freehand. This also took forever.
 Somewhere in there I realized that there were all sorts of places where the white paint had seeped under the tape into the pieces I was planning to leave as (stained) wood. This drove me crazy, so I got out two colors of brown paint and a tiny brush and fixed it.
 Good as new!
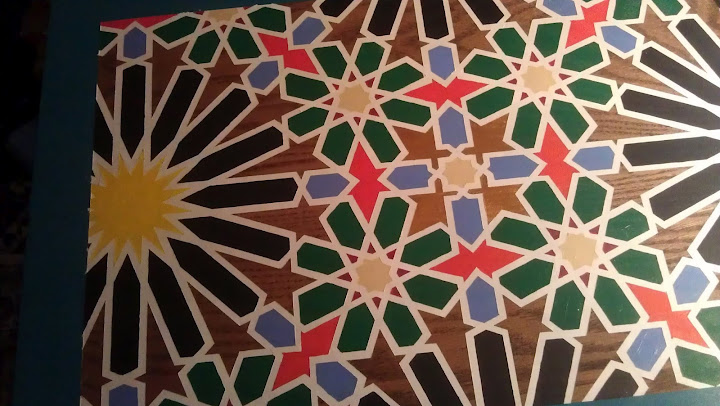 I'd been planning to make leather pulls for the drawers, so I started swapping back and forth between working on these and doing final touchups on the paint (to keep it interesting). I cut out a template for the handles, then cut six shapes. Then I burnished the edges, and measured and punched holes for the thread; finally, I oiled the leather and hand-stitched through the holes. I really like how this adds to the mix of patterns in the dresser.
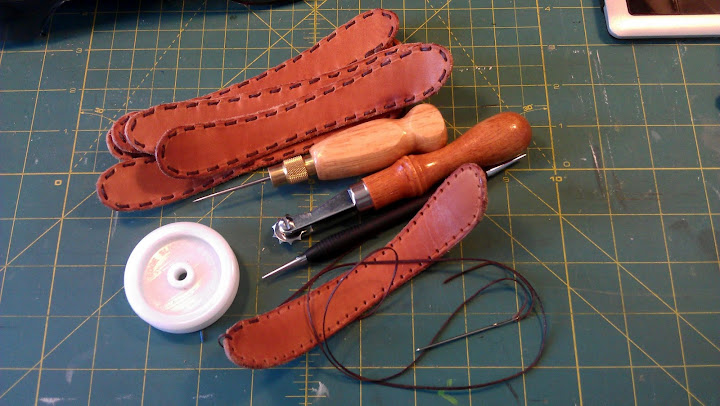 After all of this, I used antique brass decorative nails to attach the handles to the drawers...
 ...put the dresser in place, and hung the lanterns above it.
 Done! You can see how this fits into the overall room design here.